
Schedule Cloudflare Pages Builds
Schedule your Cloudflare Pages builds to run at specific times. No external services needed.
Published on:Why Schedule Builds?
Static sites often need regular rebuilds. You might have content scheduled for future dates or time-sensitive information that needs to appear automatically. For blogs with scheduled posts, daily builds ensure new content appears right on time without manual intervention.
With Cloudflare Pages, you can set up automated builds using their built-in tools - no external services needed.
Understanding Cloudflare Pages Build Limits
- The free tier includes 500 builds per month
- This is plenty for daily builds (30-31 per month) with room for manual deploys
- Scheduled builds are perfect for blogs with future-dated content
Setting Up Deploy Hooks
- Open your Cloudflare dashboard and go to Workers & Pages
- Select the Pages project you want to schedule builds for

- Navigate to Settings and find the Deploy Hooks section
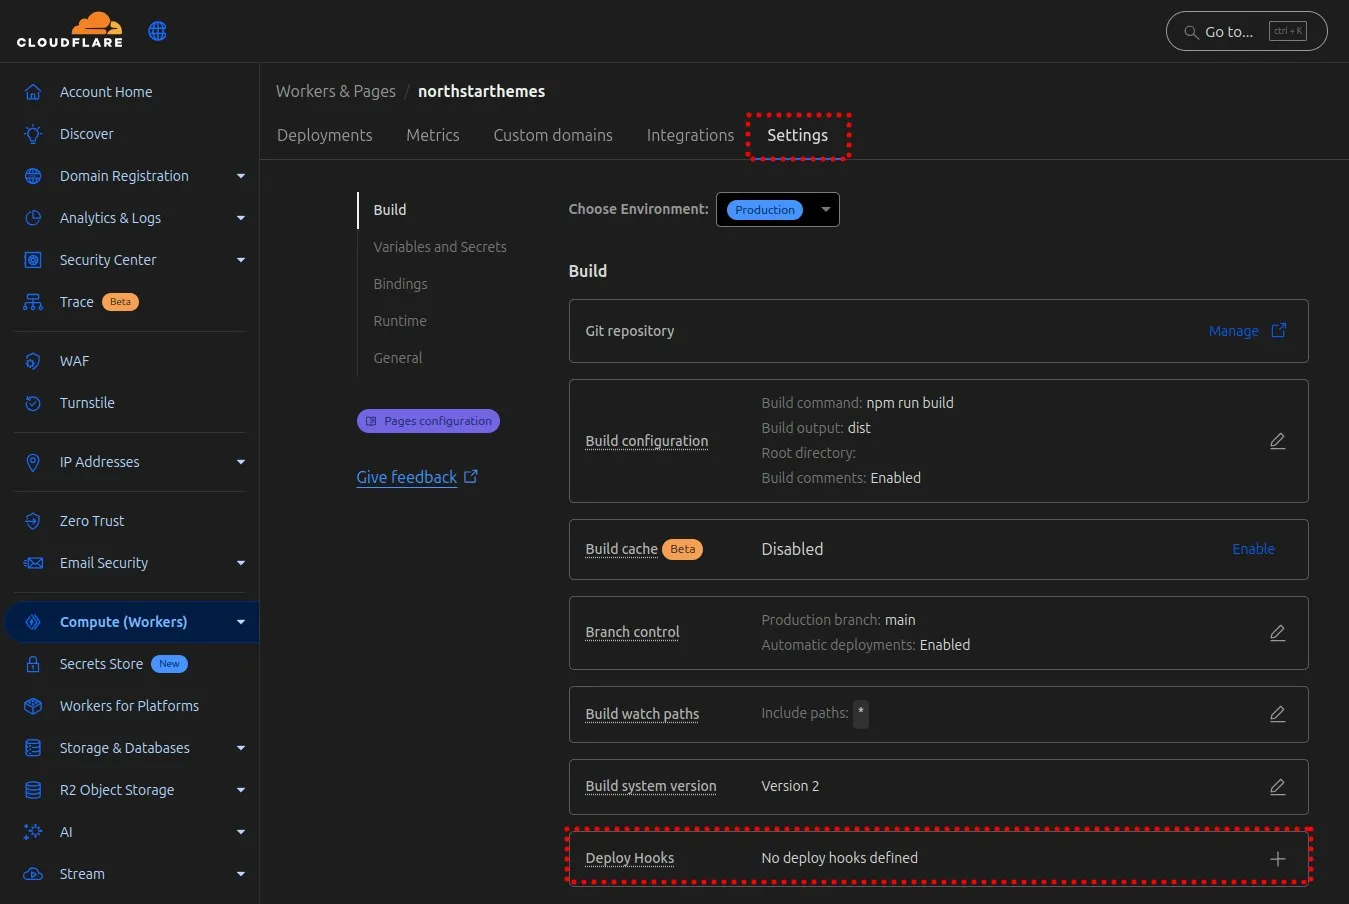
- Click the plus icon to create a new hook
- Name your hook (e.g., “scheduled-build”) and select the branch you want to deploy
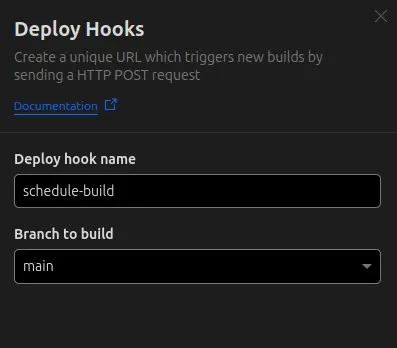
- Copy the generated URL - you’ll need this for the next step
This URL triggers a build when it receives a POST request. Now we need to schedule when to call it.
Limited Time Launch Sale
Want to build your own scheduled blog? Our AstroJS starter template includes everything you need to create a professional, SEO-optimized site with scheduled posts.
GET 60% OFF!Creating a Cloudflare Worker
Cloudflare Workers provide serverless functions that can run on a schedule:
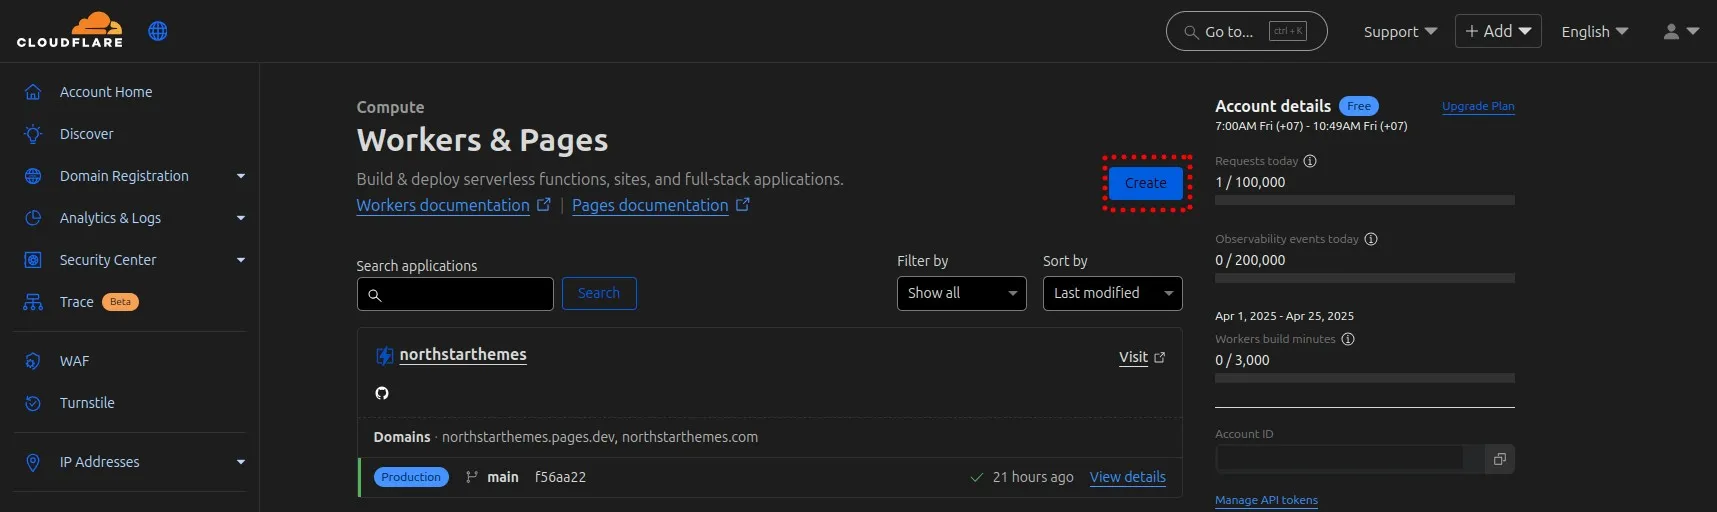
- Go back to the Workers & Pages section in your Cloudflare dashboard
- Click “Create application”
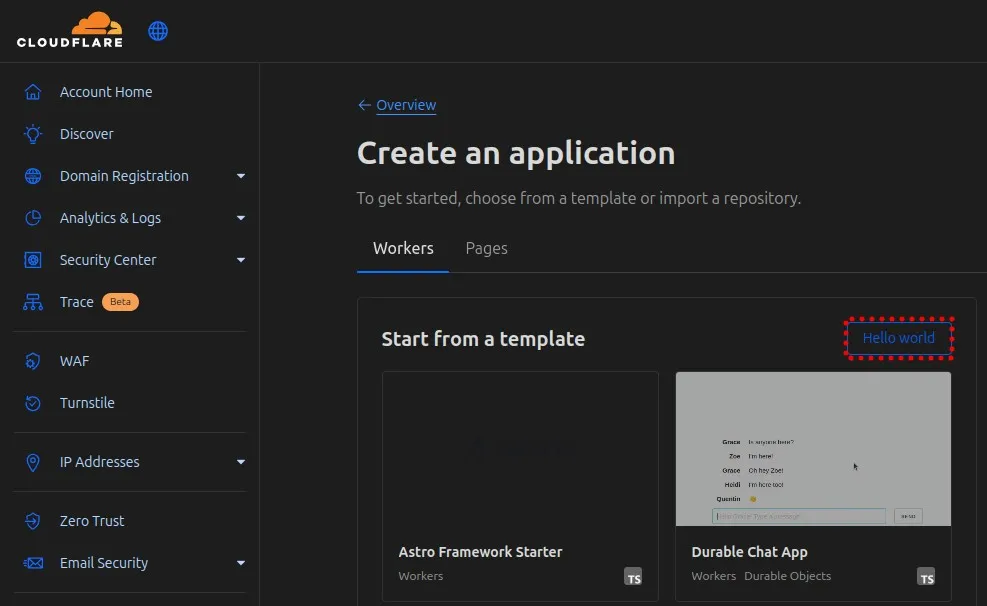
- Select “Workers” and click “Hello World” starter
- Name your worker (e.g., “scheduled-build-worker”)
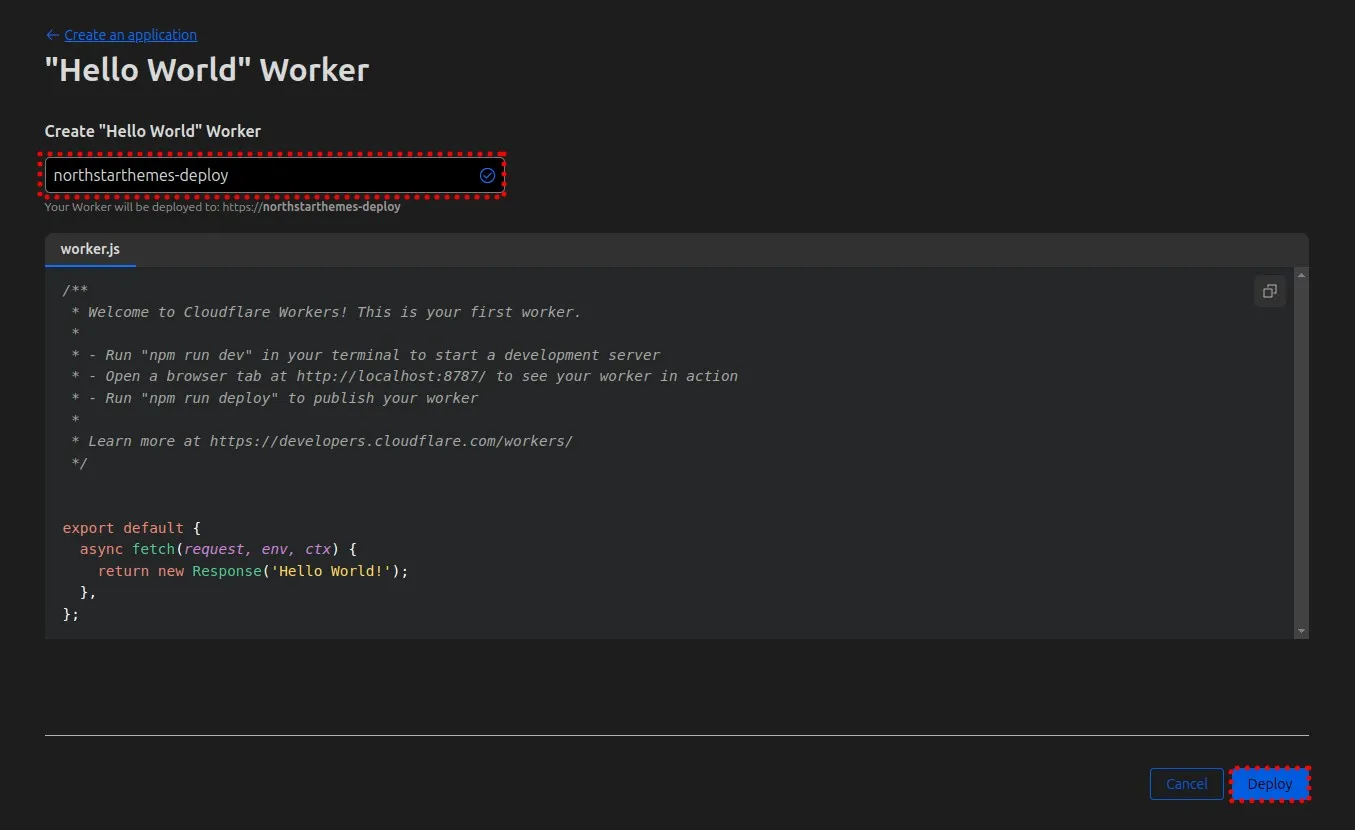
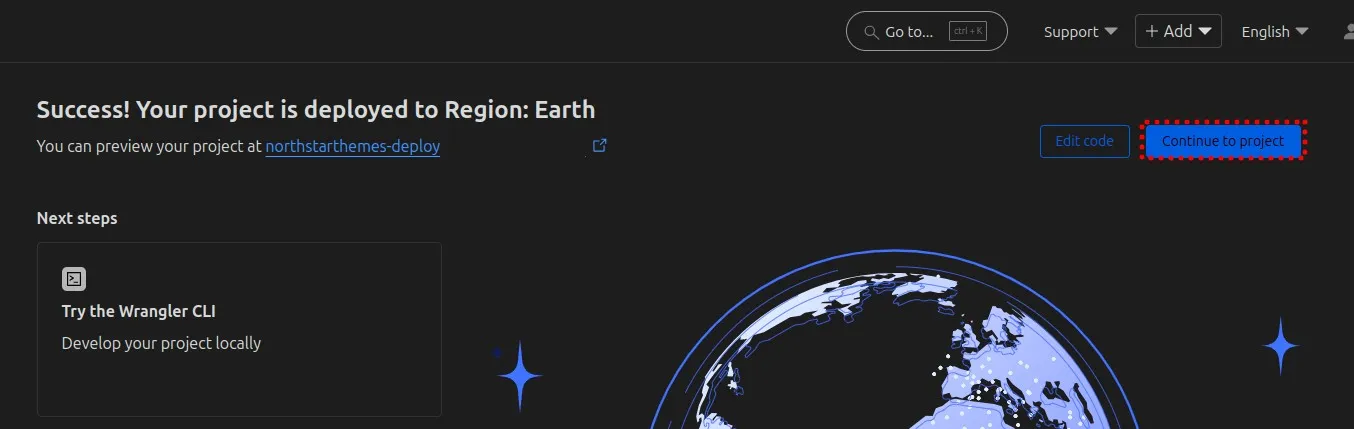
- Click “Deploy” and then “Continue to project”
- In the worker editor, replace the default code with this:
export default { async scheduled(controller, env, ctx) { ctx.waitUntil( async () => await fetch('<your-deploy-hook-url>', { method: 'POST', headers: { 'Content-Type': 'application/json', }, }) ); }, async fetch(request) { return new Response('This worker is for scheduled tasks only.', { status: 404 }); },};For more information on Cloudflare Workers, see the Cloudflare Workers scheduled handler docs.
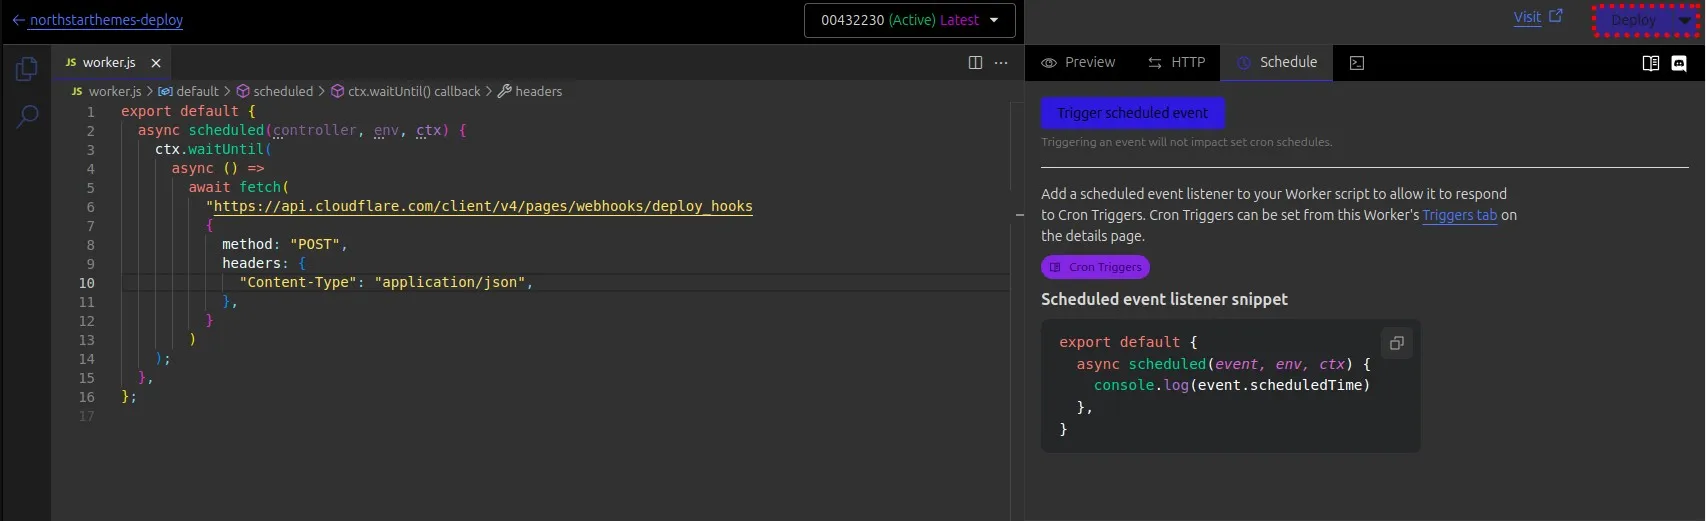
Replace <your-deploy-hook-url> with the deploy hook URL you copied earlier. This code tells the worker to make a POST request to your deploy hook URL whenever the scheduled function runs.
- Click “Deploy” to save your worker
Setting Up the Schedule
-
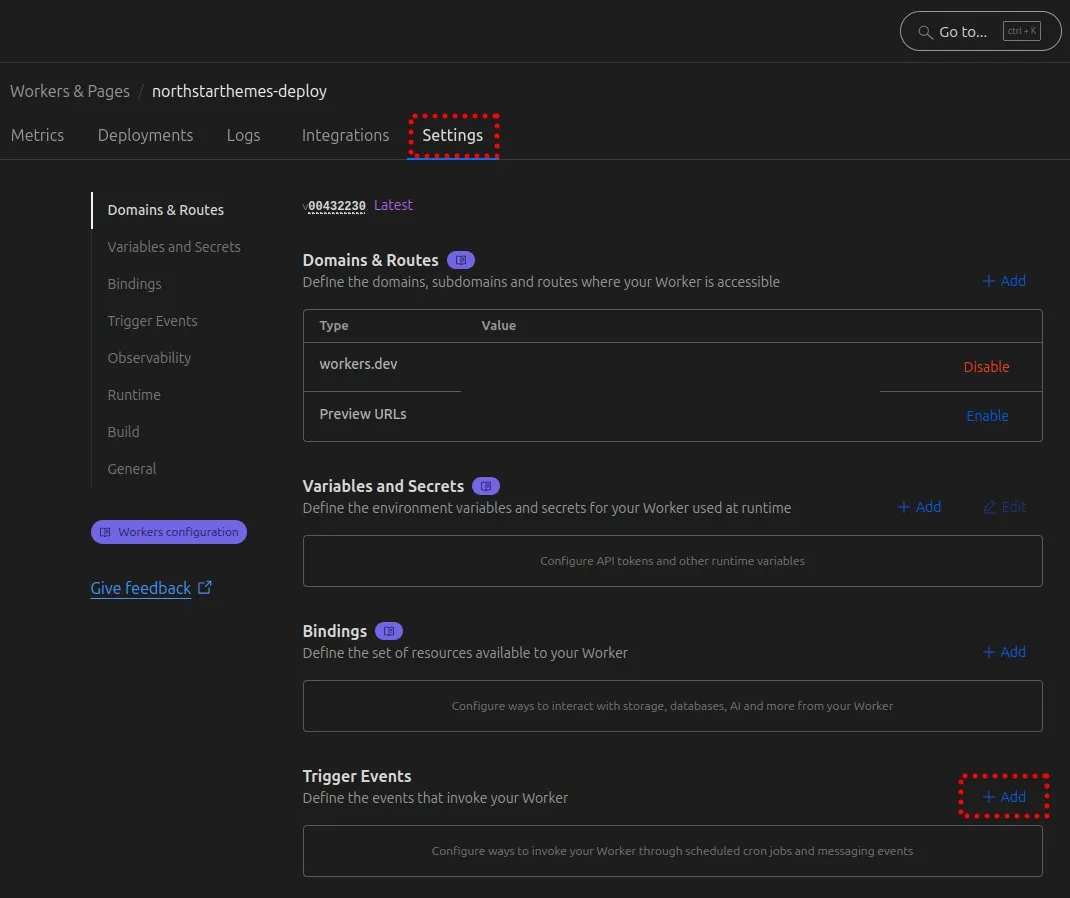
Go to the “Settings” tab of your worker
-
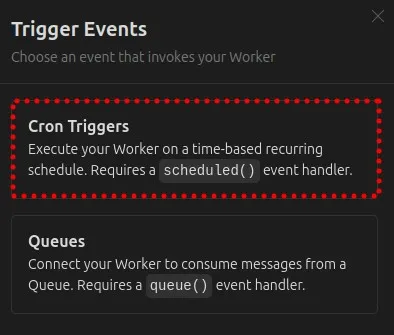
Scroll down to “Triggers” and click “Add Trigger”
-
Select “Cron Trigger”
-
Choose your schedule:
- For daily builds, use a cron expression like
0 5 * * *(runs at 5:00 AM UTC daily) - For weekly builds, try
0 5 * * MON(runs at 5:00 AM UTC every Monday)
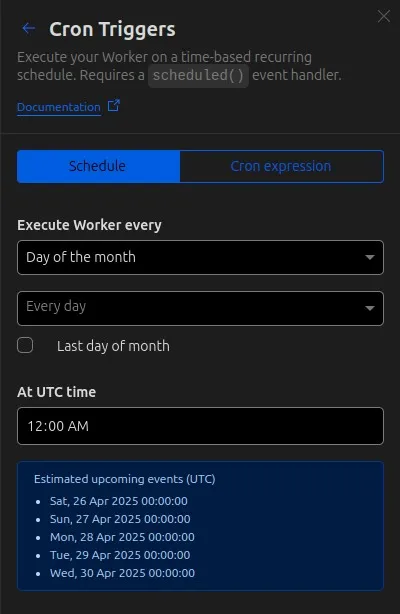
- For daily builds, use a cron expression like
-
Click “Add” to save your schedule
For a blog with scheduled posts, a daily build at early morning (like 5:00 AM) works well. This ensures new content appears at the start of each day.
Understanding Cron Expressions
Cron expressions might look confusing at first, but they’re quite simple once you understand the format:
┌─────────── minute (0 - 59)│ ┌───────── hour (0 - 23)│ │ ┌─────── day of the month (1 - 31)│ │ │ ┌───── month (1 - 12)│ │ │ │ ┌─── day of the week (0 - 6) (Sunday to Saturday)│ │ │ │ │* * * * *Common examples:
0 0 * * *- Every day at midnight0 */12 * * *- Every 12 hours0 9 * * 1-5- Every weekday at 9:00 AM
Monitoring Your Builds
- Check the “Deployments” tab in your Cloudflare Pages project to see successful builds
- Monitor your monthly build count to stay within the free tier limits
- Check that new content is appearing as expected on your site
If you need more frequent builds, consider:
- Scheduling only on specific days
- Using conditional builds that check if new content exists
- Upgrading your Cloudflare plan for additional builds
- Setting up notifications for failed builds
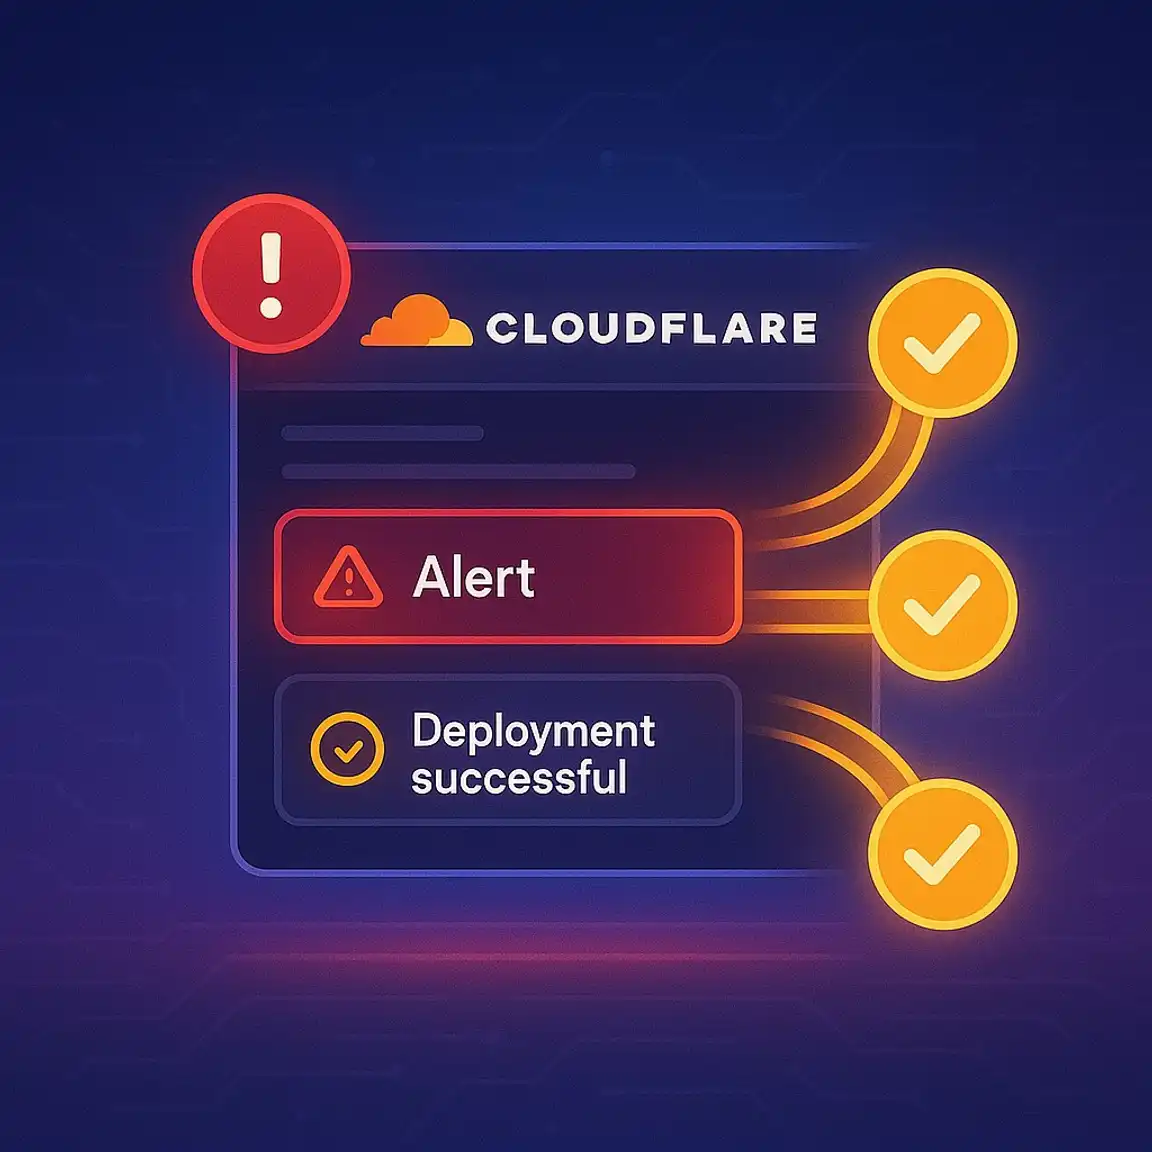
Cloudflare Pages Deployment Notifications
Set up instant alerts when your Cloudflare Pages site deploys or encounters build failures
Troubleshooting Common Issues
- Verify your deploy hook URL is correct in the worker code
- Check that your worker is deployed successfully
- Ensure the cron trigger is properly configured
- Look at the worker’s execution logs for any errors
- Confirm your Cloudflare Pages project is still connected to the correct repository
Conclusion & Next Steps
With this setup, your Cloudflare Pages site will automatically rebuild on schedule, publishing any time-sensitive content exactly when needed - no manual intervention required. The combination of Cloudflare Pages and Workers provides a powerful, free solution for automating your static site deployment process, all within the Cloudflare ecosystem.
For More tips on optimizing your Clouflare pages site, check out our other articles below.
Related Articles

How To Create A Secure Staging Environment For Cloudflare Pages
Testing website changes before they go live is essential for maintaining a professional online presence. Learn how to create a secure, password-protected staging environment for your Cloudflare Pages site.

How To Redirect .pages.dev to Your Domain
Learn how to redirect .pages.dev to your domain with this step-by-step guide

Fix Bad Indentation Of A Mapping Entry Error In Astro
Troubleshoot and resolve the common "bad indentation of a mapping entry" error in AstroJS with this practical guide.

Submit Your AstroJS Sitemap to Google Search Console
Submitting your AstroJS sitemap to Google Search Console is essential for ensuring your website gets properly indexed and ranks well in search results.