
Production only NPM Builds for Cloudflare Pages
Make your Cloudflare Pages deployments faster and more efficient by configuring your build process to use only production dependencies.
Published on:Why Optimize Your Cloudflare Pages Build Process
When deploying websites to Cloudflare Pages, you don’t need development dependencies like testing frameworks and linting tools in your production build. This guide shows you how to configure Cloudflare Pages to install only necessary production dependencies, resulting in faster builds and cleaner deployments.
Understanding The Two Types of NPM Dependencies
Production Dependencies: What Your Live Site Needs
Packages required for your application to run in production
- Listed under
dependenciesin package.json - Examples: React, Vue, Express
Development Dependencies: Tools for Developers Only
Packages only needed during development such as testing frameworks, linting tools, and type definitions
- Listed under
devDependenciesin package.json - Examples: Jest, ESLint, TypeScript, Playwright
By default, Cloudflare Pages installs all dependencies during the build process. We can optimize this by installing only production dependencies.
Step-by-Step Configuration Guide
1. Organize Your Package.json Dependencies
First, ensure your package.json has dependencies properly categorized:
"dependencies": { "astro": "^3.0.0", "react": "^18.0.0"},"devDependencies": { "jest": "^29.0.0", "eslint": "^8.0.0"}2. Create a Production-Optimized Build Script
Add a dedicated production build script to your package.json:
{ "scripts": { "build:production": "npm clean-install --omit=dev && astro build", "build:development": "astro build" }}The clean-install --omit=dev flag ensures only production dependencies are installed.
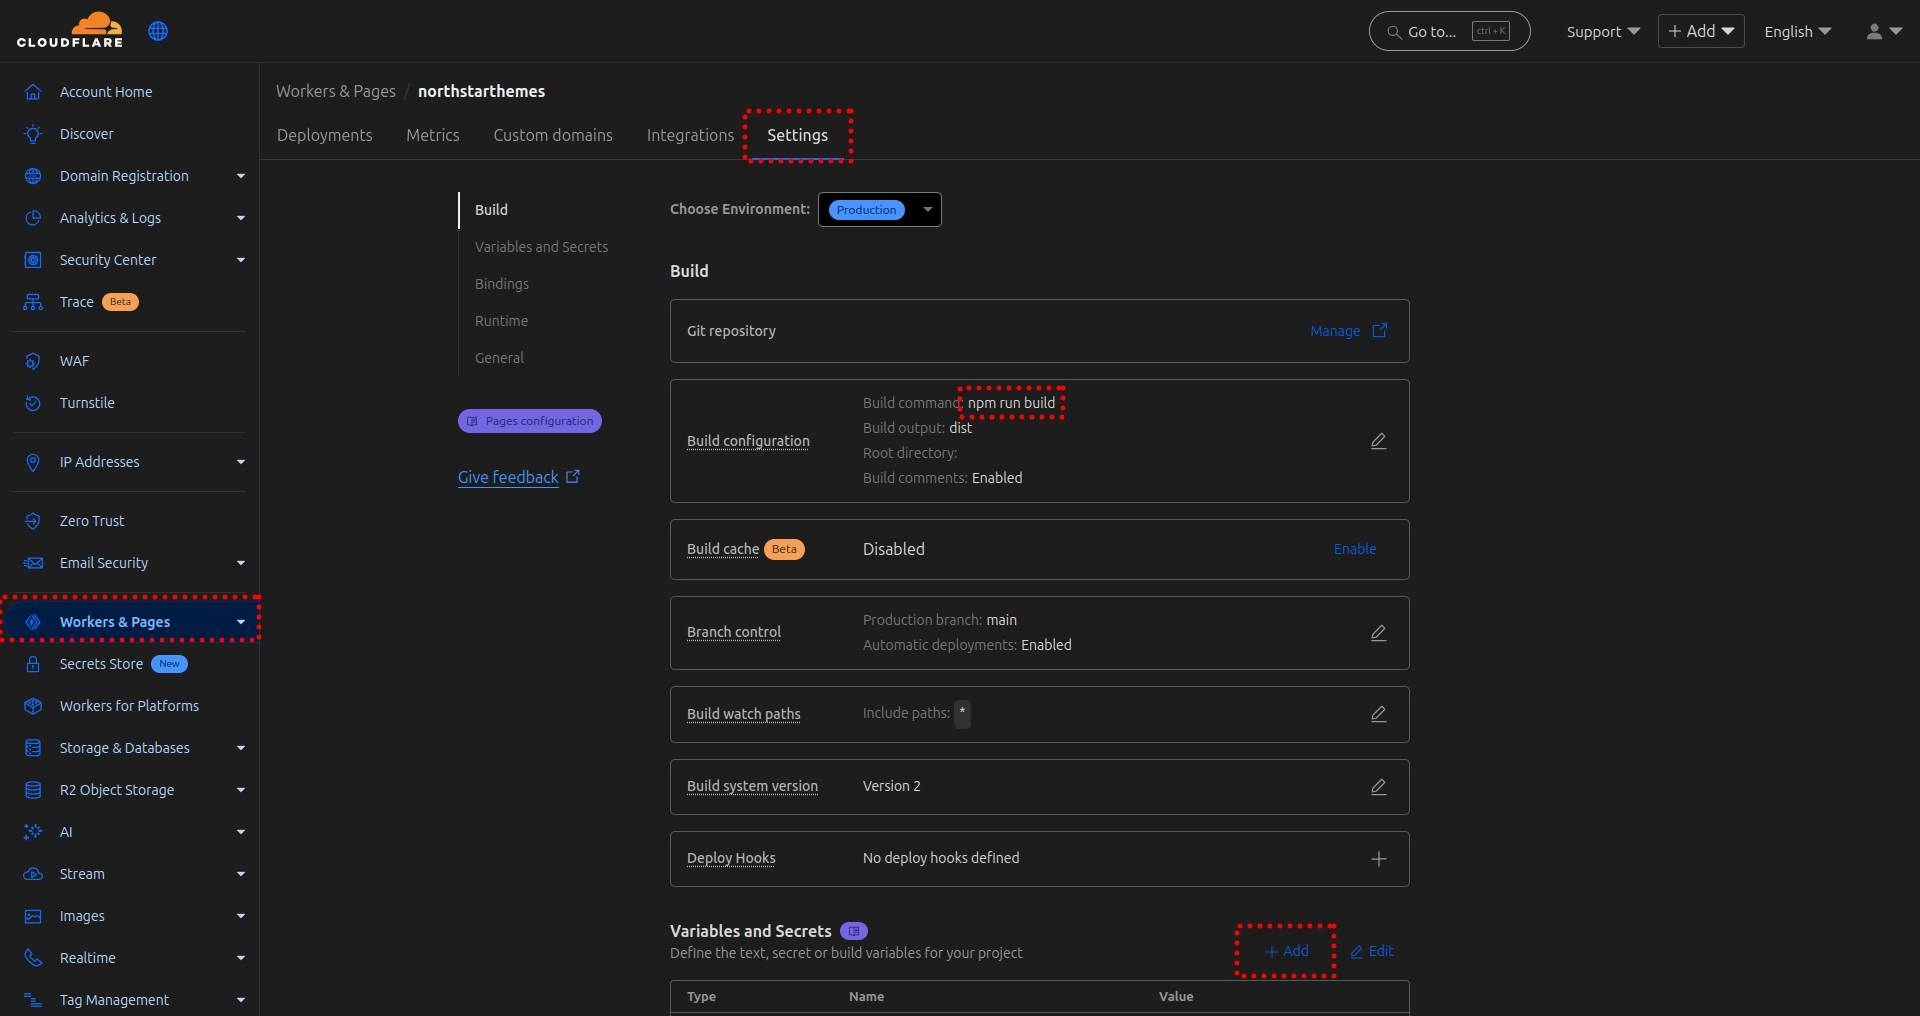
3. Configure Cloudflare Pages Build Settings
-
Add an environment variable:
- Name:
SKIP_DEPENDENCY_INSTALL - Value:
1
- Name:
-
Set the build command:
- Command:
npm run build:production
- Command:
This configuration tells Cloudflare to:
- Skip the default dependency installation
- Use your custom build command that only installs production dependencies
If done correctly you will see the following in the build logs:
SKIP_DEPENDENCY_INSTALL is present in environment. Skipping automatic dependency installation.Executing user command: npm run build:productionHow to Test Your Optimized Build Configuration
Test the build locally to ensure it works as expected and all required dependencies are in the “dependencies” section of your package.json. If the build succeeds locally, it should work on Cloudflare Pages as well.
- Remove the
node_modulesdirectory - Run
npm run build:production - Verify that your application builds successfully
- Check that development tools are not installed
Troubleshooting Common Build Optimization Issues
- Missing Dependencies: Check if any production dependencies were incorrectly listed under
devDependencies - Build Script Errors: Ensure your build script includes all necessary steps in the correct order
- Environment Variables: Verify that any required environment variables are properly set in your Cloudflare Pages project settings
Best Practices for NPM Build Optimization
-
Regularly audit your dependencies to ensure proper categorization
-
Keep your
package.jsonorganized and up-to-date -
Document any special build requirements in your project’s README
-
Test production builds locally before deploying
By following these steps, you’ll have a more efficient build process that only includes the packages necessary for your production environment.
Related Articles

How To Create A Secure Staging Environment For Cloudflare Pages
Testing website changes before they go live is essential for maintaining a professional online presence. Learn how to create a secure, password-protected staging environment for your Cloudflare Pages site.

How To Redirect .pages.dev to Your Domain
Learn how to redirect .pages.dev to your domain with this step-by-step guide

Schedule Cloudflare Pages Builds
Schedule your Cloudflare Pages builds to run at specific times. No external services needed.

Fix Bad Indentation Of A Mapping Entry Error In Astro
Troubleshoot and resolve the common "bad indentation of a mapping entry" error in AstroJS with this practical guide.